Table of Contents:
“How do I learn to dry hardwood flooring?”
This is one of the most common questions we get asked by both new and experienced restorers, and it’s clear why. Hardwood floors are one of the most popular types of flooring, and it’s not going anywhere soon. At times, restoration technicians may be asked by the homeowner to properly dry their hardwood floors. Only the best techs really understand the correct hardwood drying process.
Because drying hardwood floors is so challenging, companies that can do so correctly and consistently will be more profitable. They also will gain the reputation of being a mitigation company and not a company that dries without thinking of the overall cost of a claim.
Where to Learn Hardwood Floor Drying That Works in the Real World?
To answer the question right away, you can get trained at Reets Drying Academy. We offer online courses and in-person training using our state-of-the-art flood house.
You will not only learn what drying techniques will consistently dry hardwood floors; but also what commonly used techniques do NOT work. We also will train you to handle various other techniques you will need to know to succeed on your water damage projects.
By the end of the training, you will be able to determine exactly which types of floors are worth saving, the tools and steps involved, how to deal with cupping, and when refinishing makes sense.
No article can replace real training, but here’s what you need to know about hardwood floor drying.
What Happens When Hardwood Floors Get Wet
When hardwood floors get exposed to water, the damage goes far beyond the surface.
Since the top of the hardwood floor is finished with a water resistant coating, the top of the wood is not what receives most of the damage initially. Instead, the water rolls to the seams and finds the areas of the wood that are not finished. This causes the boards to swell, shift, and deform. If not handled quickly, this causes problems like cupping. If the wood is cupped for an extended period it could lead to permanent warping.
Excessive moisture between the floor and subfloor creates ideal conditions for mold growth. The longer the water sits, the more chance that it can become bound water, which is even harder to fix.
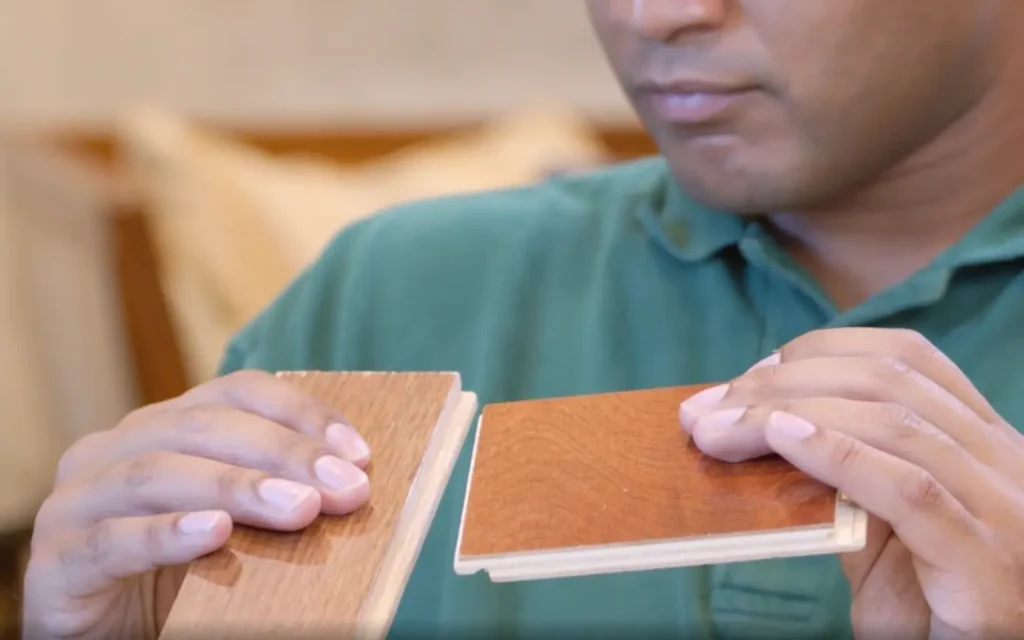
The First Question You Should Always Ask: What Type of Wood Floor Is It?
Before you even bring equipment into the space, identify the floor type. Why?
Because some wood floors can be dried and saved, others can’t. And if you make the wrong call, you’ll waste time, frustrate the homeowner, and possibly damage your reputation.
Solid Hardwood Floors
They respond well to controlled drying methods, especially when you start early. Cupping may happen, but in many cases, the boards will lay back down once the moisture content is back within range of the dry standard. Solid hardwood gives you the most flexibility and chance at full recovery as long as they are nailed to a wood subfloor. Solid wood that is glued onto a concrete slab should be removed.
Engineered Wood Floors
Engineered floors have a thin real wood veneer on top of layered plywood or fiberboard underneath. If you start drying and the layers separate, you’re already past the point where drying is the right answer. In many cases, it’s best to remove and replace rather than fight a losing battle.
Laminate Floors
Laminate floors aren’t real wood. They’re printed surfaces over compressed boards that fall apart quickly when water damages them. If you try to dry them, you’re just delaying the inevitable. Recommend removal.
Tools You Need to Dry Hardwood Floors the Right Way

In order to dry hardwood floors, you need more than just a few fans around the room. You need equipment that lets you control the environment and track progress inside the materials, not just on the surface.
- Penetrating moisture meters are used to measure the moisture content inside the board and subfloor. Do not take moisture readings from the top of the wood. Access the crawlspace or basement to take measurements from underneath.
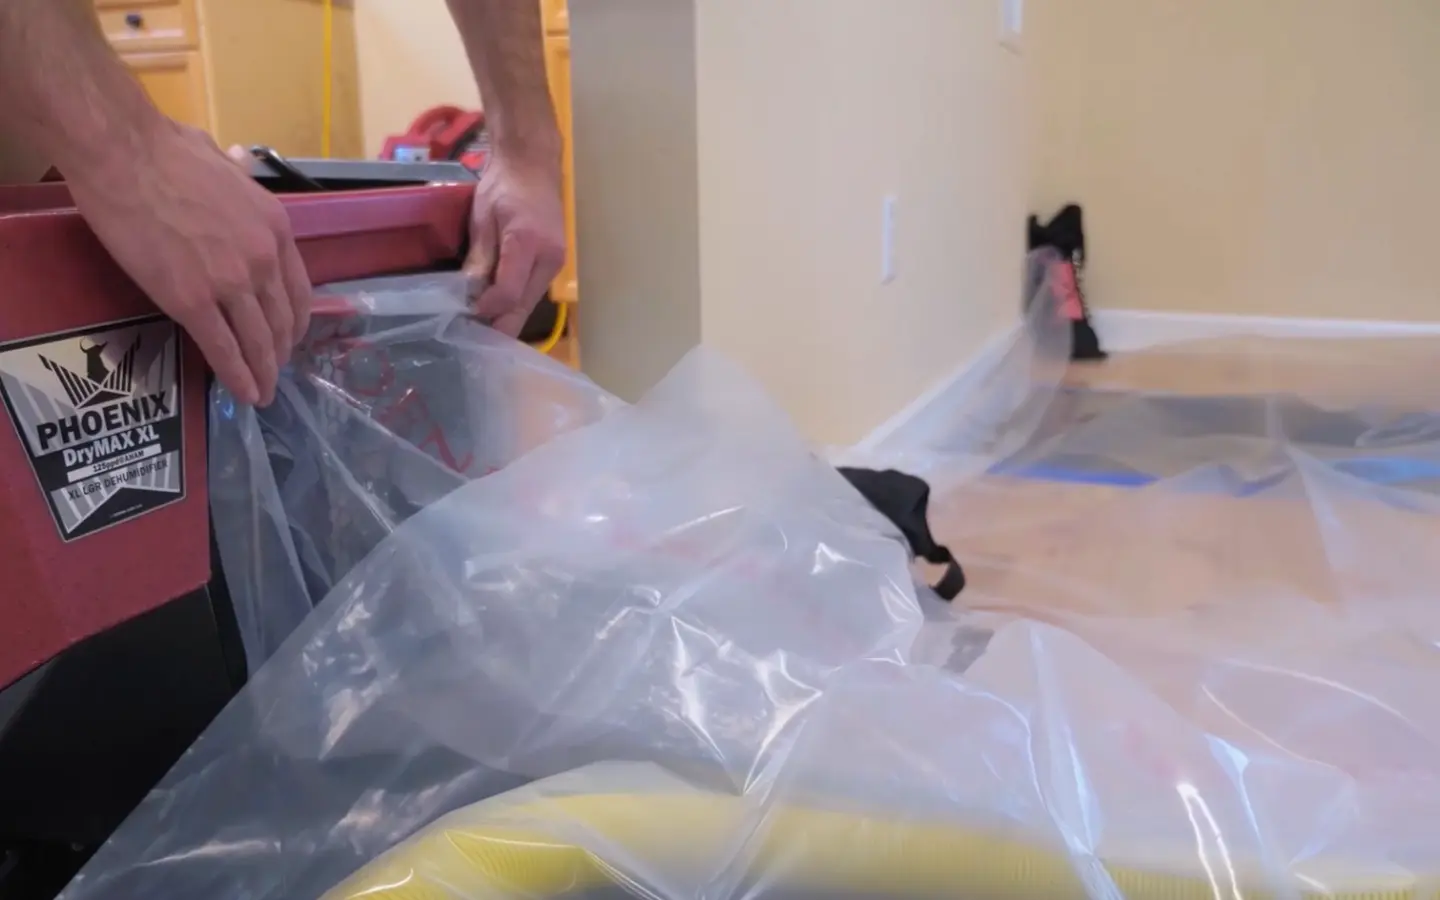
- LGR dehumidifiers to reduce humidity quickly and efficiently. Use layflat to capture the hot, dry air from the exhaust of the dehumidifier to float the containment. This will speed drying.
- Floor drying mats create negative pressure to pull moisture from beneath the surface.
- Infrared cameras detect differences in temperature which, when used in conjunction with moisture meters, can help establish the perimeter of the water damage.
- Thermal hygrometers monitor relative humidity in the space, which is critical for controlling the drying environment effectively.
- Containment barriers/drying chambers are used to isolate the affected area and speed up the drying process by increasing the temperature of the area closest to the floor. Increasing the temperature will increase the evaporation potential, which is key to drying hardwood floors.
Once you learn to use these tools correctly, you will be able to control how fast and how evenly the floor dries. And that’s a big deal because uneven or rapid drying can cause new problems like cracking or crowning.
We cover all this in our IICRC (WRT) Livestream Training, where we teach drying fundamentals and how to go beyond the basics of drying.
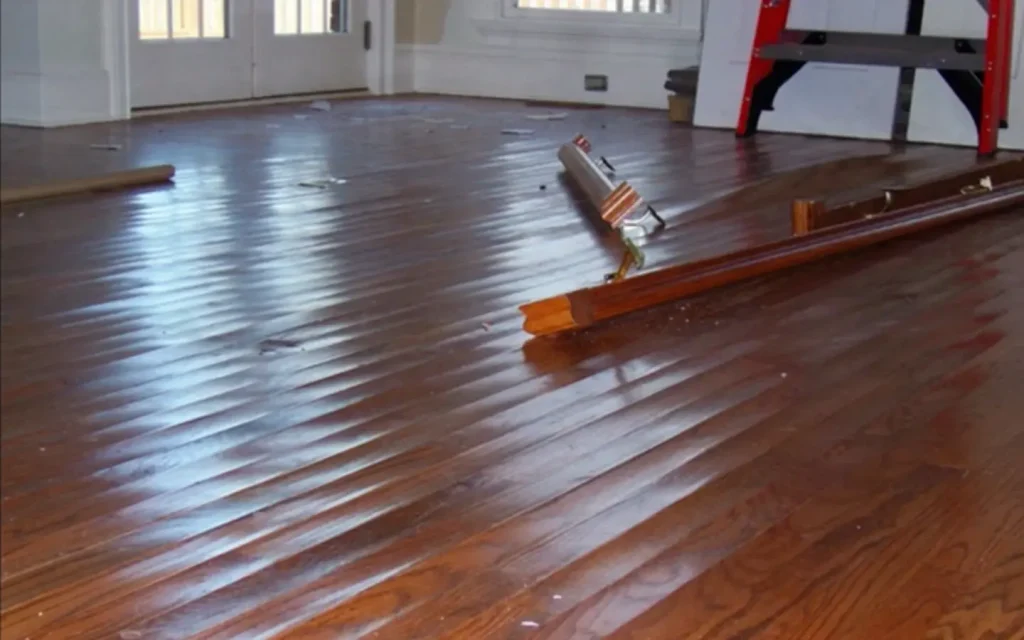
What Is Cupping in Hardwood Floors and How to Fix It
Cupping is one of the most common issues after water exposure. It happens when the bottom of a board absorbs more moisture than the top, due to the water-resistant finish on the top of the boards, causing the edges to rise. Fortunately, cupping doesn’t always mean permanent damage.
The boards can settle back into place as the moisture content moves back towards the dry standard within the home.
Unless you’ve confirmed that the boards have reached equilibrium moisture content (EMC), refinishing or sanding too early can lead to long-term issues.
Do You Need to Refinish Hardwood Floors After Drying?
In most cases, yes! You will need to refinish most hardwood floors after the drying process.
During the restoration process, all you can control is whether the boards lay back down or not. If there’s damage to the finish, like feathering at the ends of the boards or cracking in the finish, you can’t fix that by drying it. At times the finish may be affected by the tape used on the drying panels. The only thing that can fix those specific issues is refinishing.
Just think about it. Suppose you finish a drying job and the finish is cracked. Will you take responsibility for it as if the drying wasn’t done correctly? Of course not!
That did not happen because of the drying. You also can’t say refinishing isn’t part of the drying process because, at that point, you don’t know yet. So, inform your customer that in almost all cases, the hardwood floors will need to be refinished at the end of the drying process. If, after the drying is done, sanding and finishing isn’t necessary, you can let them know.
Following these steps will lead to the best-looking hardwood floor on every drying project! Because you will be able to consistently dry them and get them to look as if the water damage never happened.
Learn How to Dry Hardwood Floors the Right Way

Understanding how to dry hardwood floors the right way doesn’t happen overnight.
Everything we’ve covered in this article and much more is what we teach in our courses.
We combined two of the most essential water damage restoration courses into one, and that is our IICRC WRT/ASD Combo Course. This hands-on course takes place in our full-scale flood house designed to mimic the real-world conditions you’ll face on the job.
You won’t sit through a lecture. You’ll actively learn how to use tools to assess moisture, troubleshoot cupping, and learn the difference between a floor that looks dry and one that truly is.
Class sizes are intentionally kept small so you can get real feedback from the expert with years of experience. You will be able to ask questions and build skills that stick. That’s how restorers across the country are improving their process, their outcomes, and, ultimately, their business.
If you are ready to take the next step, check out our upcoming courses and get trained by people who live and breathe structural drying!

Nick Sharp
Nick Sharp has worked with Jeremy Reets for nearly 2 decades. He started in carpet cleaning and mitigation before moving to the construction side as a project manager. He then was the senior estimator for Champion Construction for over 8 years. Since its inception in 2015, Nick has been an instructor of our Restoration Estimating & Negotiating course. His most recent venture is as a restoration estimate consultant. Nick is an Xactware Certified Trainer and also has his Levels 1-3 Xactimate Certifications. He’s a bad boy on that sketch but better at finding where you may be losing money!


770-712-7293